EDA Electrodermal Activity Amplifier for MRI
Selectable signal conditioning—filter or transform data as it is being collected
MRI Smart Amplifier
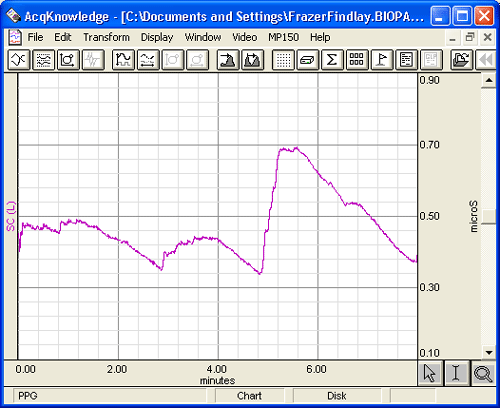
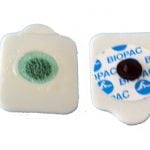
The EDA100C-MRI measures both the skin conductance level (SCL) and skin conductance response (SCR) as they vary with sweat gland (eccrine) activity due to stress, arousal or emotional excitement. The EDA100C-MRI uses a constant voltage (0.5 V) technique to measure skin conductance. The controls allow selection of absolute (SCL+SCR) or relative (SCR) skin conductance measurements.
AcqKnowledge includes a fully-automated electrodermal response scoring tool that locates skin conductance responses, visually identifies them in the record and measures them. It also automates event related potentials (ERP) analysis by locating the onset of the stimuli and identifying a valid SCR.
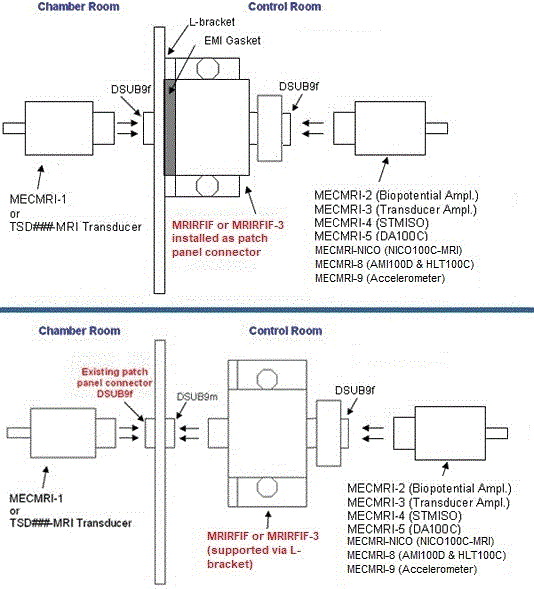
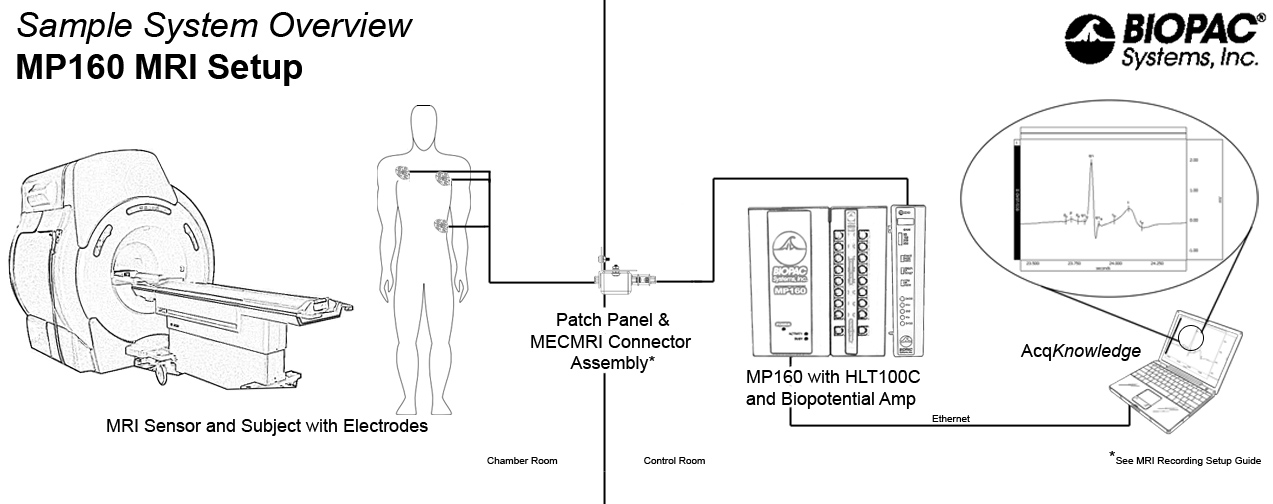
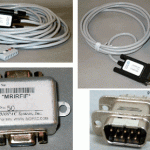
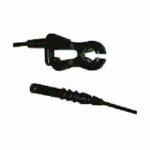
The EDA100C-MRI amplifier should be used with the MECMRI-TRANS MRI cable/filter set. The EDA100C-MRI is part of a complete research system, interfacing with the MP160/MP150 data acquisition and analysis platform and AcqKnowledge software, allowing advanced analysis for multiple applications and supporting acquisition of a broad range of signals and measurements.
See More...


Stay Connected