
Unity Interface works on recent versions of Windows and MacOS and all recent version of Unity (5.5+).
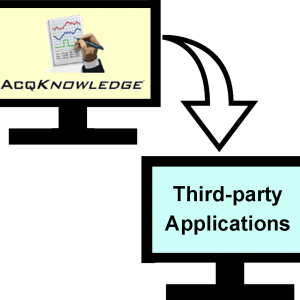
Make sure the network connection is activated in AcqKnowledge with NDT (Network Data Transfer license).
Start AcqKnowledge with a small setup of digital and analog I/O you can find in the samples folder.
Watch the Unity VR Interface Demo Video for an overview of hardware setup and interface information.
Sample Uses
- Buttons | Create a small script with buttons to start, stop, or toggle the acquisition from within Unity; use the connector Component.
- Marker events | Again, we will write a few line of script using GenericEventSender and its “InsertGlobalEvent” function. The script can be configured with default arguments set from the Unity Inspector, or use some custom values directly set from script. Here for example, we can trigger the rock fall, and send an event at the same time. You can also send other event with script-defined values.
- Analog & Digital inputs | Use InputChannel component, with the GetValueOrDefault function. The channels are preconfigured in the Unity inspector window. Here you can see that it will read the voltage of the battery, and detect the button press. For example, having 3.2 V from the battery… the DIGITAL value goes from 0 to 5 V… 0 to 5 V again…
- Outputs | Use OutputChannel component to set some data from the script, here for example, we will generate a Sine curve to send some data to AcqKnowledge. Here again, the Unity inspector will be used to configure the Output channel number. When we press “play”, we can see the sine function, and the LED indicator
- Digital Output | This is the same with boolean values. Toggle the output with a GUI button…see it on the AcqKnowledge graph and the LED goes off, on, off again.
UNITY INTERFACE SUPPORT
- Unity Interface User Manual
- AcqKnowledge installation > BIOPAC Support Request
- Unity Interface Support > Reviatech Support Center includes Knowledgebase and Support Tickets
Part #: UNITY-INTERFACE

Stay Connected